
Commercial Hardware
Installing door closers, a brief description.
Apr
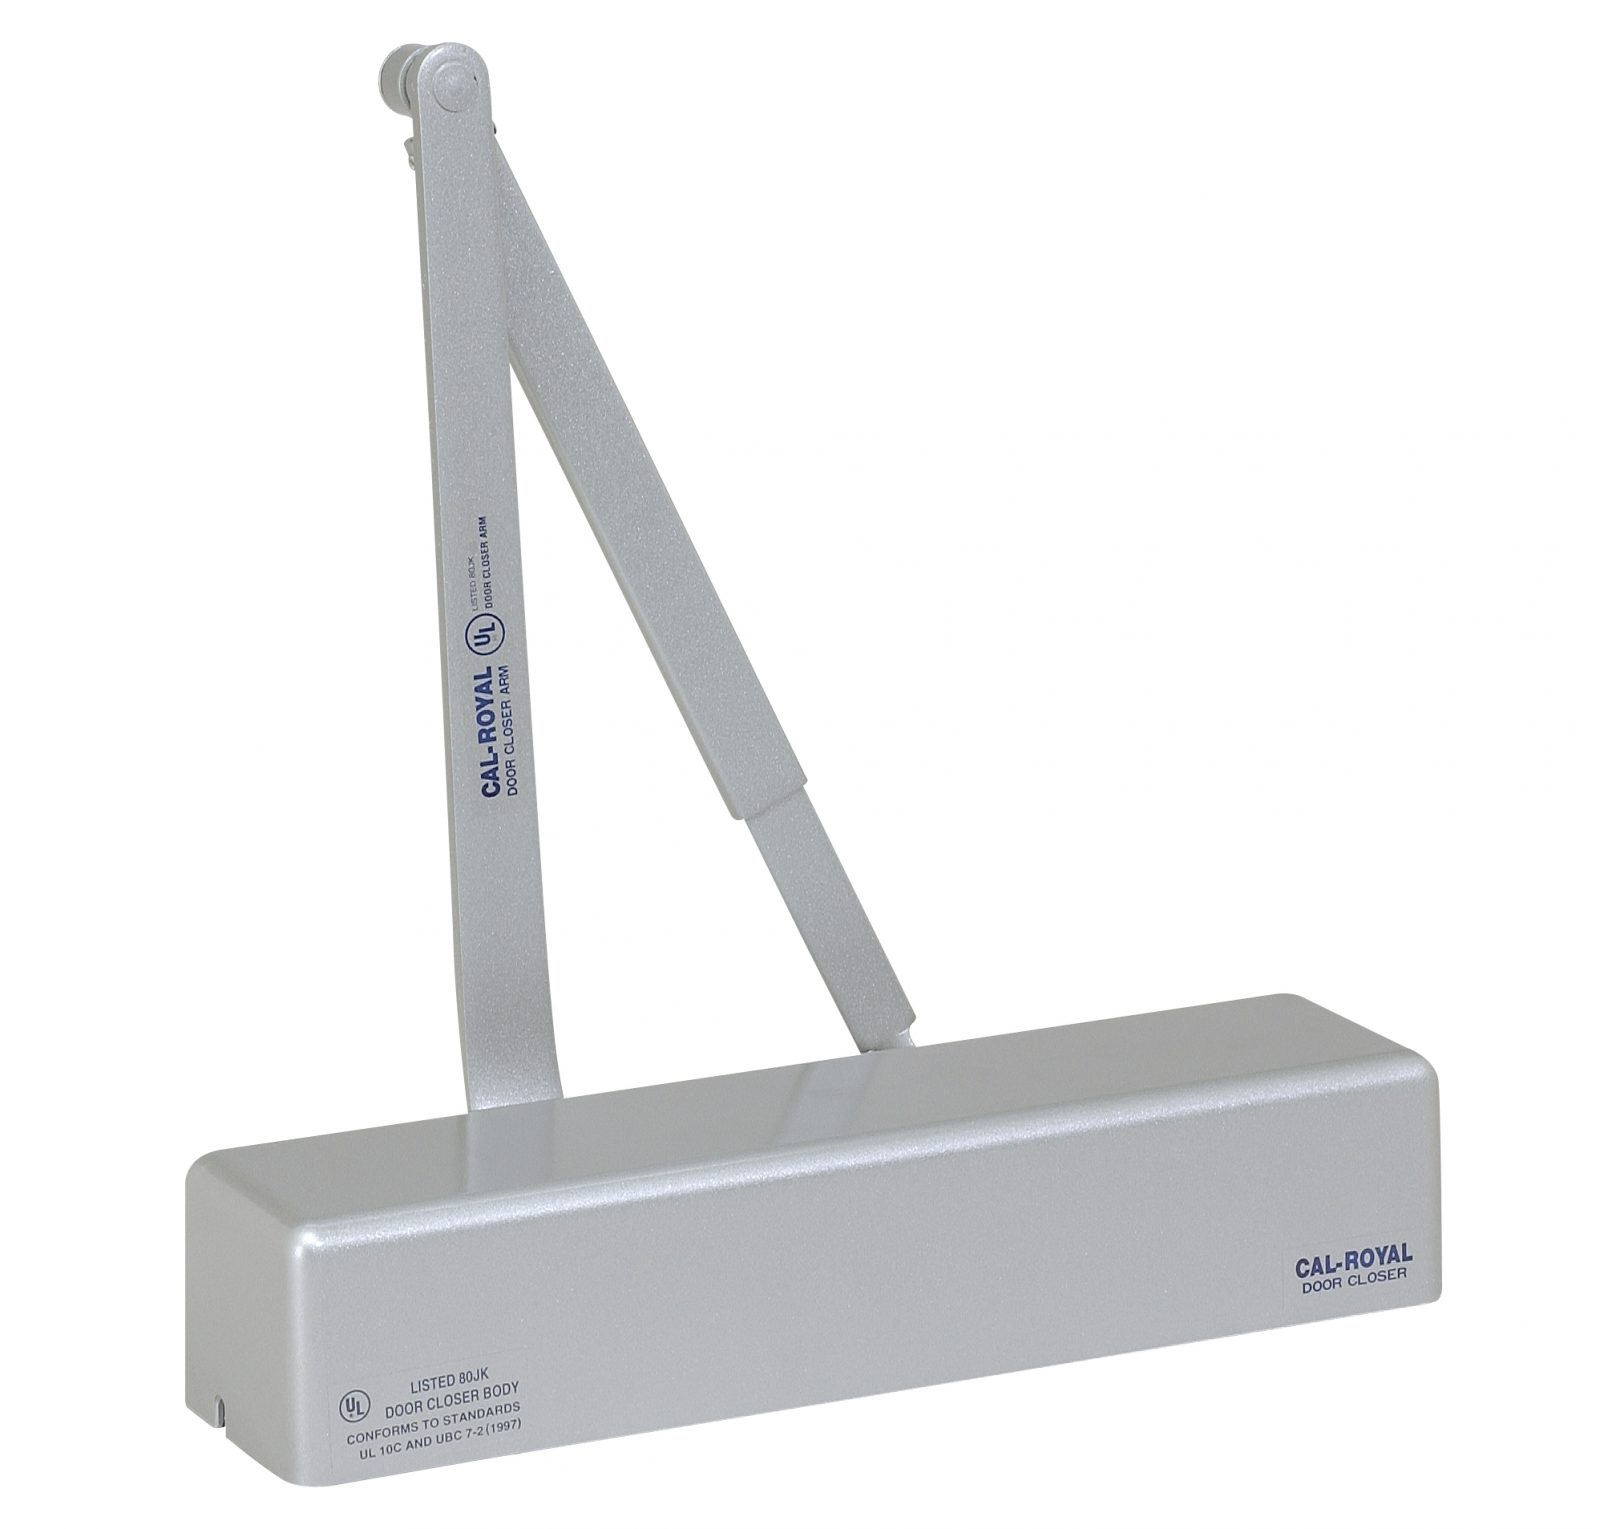
Closers come in many different sizes, configurations, adjustment sets and they come from many different manufacturers. All of these manufacturers are copying from one another in what I can tell is the same 6 or 10 designs in a complicated soup of corporate chess. To outsmart patent infringement laws, they change their measurements to be extremely close, but not exact, sometimes going into the 128th have an inch to avoid putting down the same measurements as the original manufacturer. Changing spendell sizes and shapes as well as screw patters are also common.
There are typically 3 standard types of mounting for closers.
[su_column] Regular Mount[/su_column][su_column] Parallel Arm Mount[/su_column] [su_column] Top Jamb Mount (Typically Aluminum Door Closers)[/su_column]
Codes:
Not all closers are mounted the same but all door per ADA code are required to open at least 90 degrees, but some doors open further than 90°. There are typically measurements for 90°, 100°, 110°, 120°, 160°, and some doors on the exterior of buildings and in fire corridors open to 180° to allow traffic to flow through for egress. When laying out closers and plotting measurements, you should keep this in mind and always take time to consult the plans, It is not typically on the door hardware schedule and I usually find the degree of openings on the floor plans.
Adjustments
Code dictates that the required closing speed for a closer from a 90° position is 5 to 7 seconds, with the speed being evenly distributed throughout the different stages of the closure. Using the Closing Speed, and Latch Speed this can be accomplished. In most specs, the architect also requires that the closure have a maximum of 5 pounds of foot pressure to push the door or pull the door open. Not all closures are designed to accommodate this, but using the Power Adjustment, and Back Check you can usually adjust the pressure down to be compliant.
Finding Measurements
Because there are so many different types of closers, to simplify the installation process, you should locate three measurements on every set of directions.
1. These measurements are the Over Measurements (typically pulled from the center line of the hinge or edge of the door)
2. The Down Measurement (typically pulled from the top of the door for Regular Mount and from the bottom of the stop on a Parallel Mount) for the closer body.
3. The Over Arm Measurement to the First Screw on the closure arm bracket or parallel arm bracket on the frame. (typically pulled from the center-line of hinge to the first screw for regular mount)
Preference and Placement
Most closers are typically mounted on the inside of rooms and not in the spaces or corridor‘s leading into rooms. The Idea is not to see them. When one Corridors connect with another Corridor it is a good idea to ask the general contractors preference on which corridor should show the closer and which one should not unless there is panic hardware on the door then all hardware should be mounted on the push side (parallel mount). Closers are never to be mounted on the outside of a building where the elements can get to them, they will rust or oxidize and die.